
Managed Service Only Billing Implementation: Meta Ads Manager
OVERVIEW
This is for Data Marketplace Buyer Managed Service Clients only. If you are a Spherical Platform Customer, Data Seller, or have your own Data Marketplace Buyer seat(s), please refer to the instructions here.
Lotame's productized Meta Ads integration allows marketers to receive custom audiences built by our data experts in order to run more effective advertising campaigns across Facebook and Instagram.
Lotame Data Marketplace Buyer Managed Service customers must provide monthly reporting for impressions served per audience (or "Usage") in accordance with the Master Agreement (refer to the ‘Reporting’ section under ‘Fees and Payment Terms’ in the Service Order for Data Marketplace Buyer Managed Service for details).
Impressions ("usage") can be reported by following the below instructions. This will generate a report which should be provided to Lotame.
There are two parts required to generate this report:
Part 1 - Marketers must have enabled the Meta Integration per instructions here in order to serve impressions against custom audiences delivered to your Meta account(s).
Part 2 - Report generation in Meta for each campaign.
Part 1 - Custom audience creation and activation:
- Enable Meta's integration with Lotame. See documentation if guidance is needed.
Part 2 - Report generation in Meta
- Go to https://adsmanager.facebook.com/adsmanager/reporting/manage
- Click on Create Report, enter a name for your report, and select all of the ad accounts that are receiving custom audiences from Lotame
- From the Choose a Layout dialog, select "Pivot Table" and then click Continue.
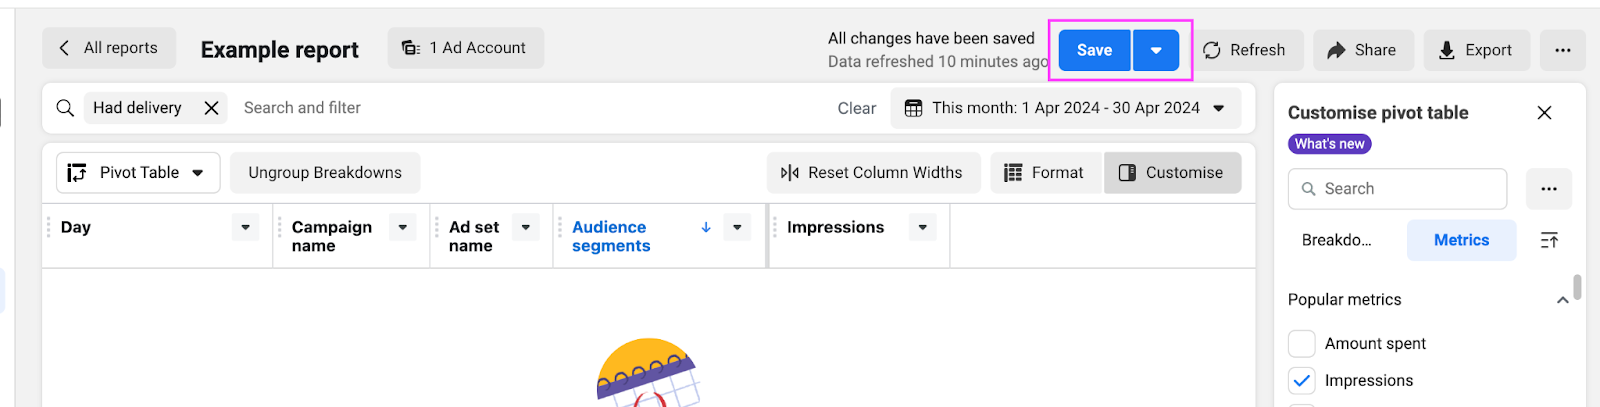
- Click on the Customize option under Date Selection.
- Then, under the Breakdowns tab on the right side of the page, ensure that only 'Day' and 'Ad Set Name' are checked. In the Metrics tab, select only 'Included Custom Audiences,' 'Excluded Custom Audiences,' and 'Impressions.' Please follow the order as shown in the image below.
- Now Click on the Ungroup Breakdowns. This is to make sure we group all the similar Row entries.
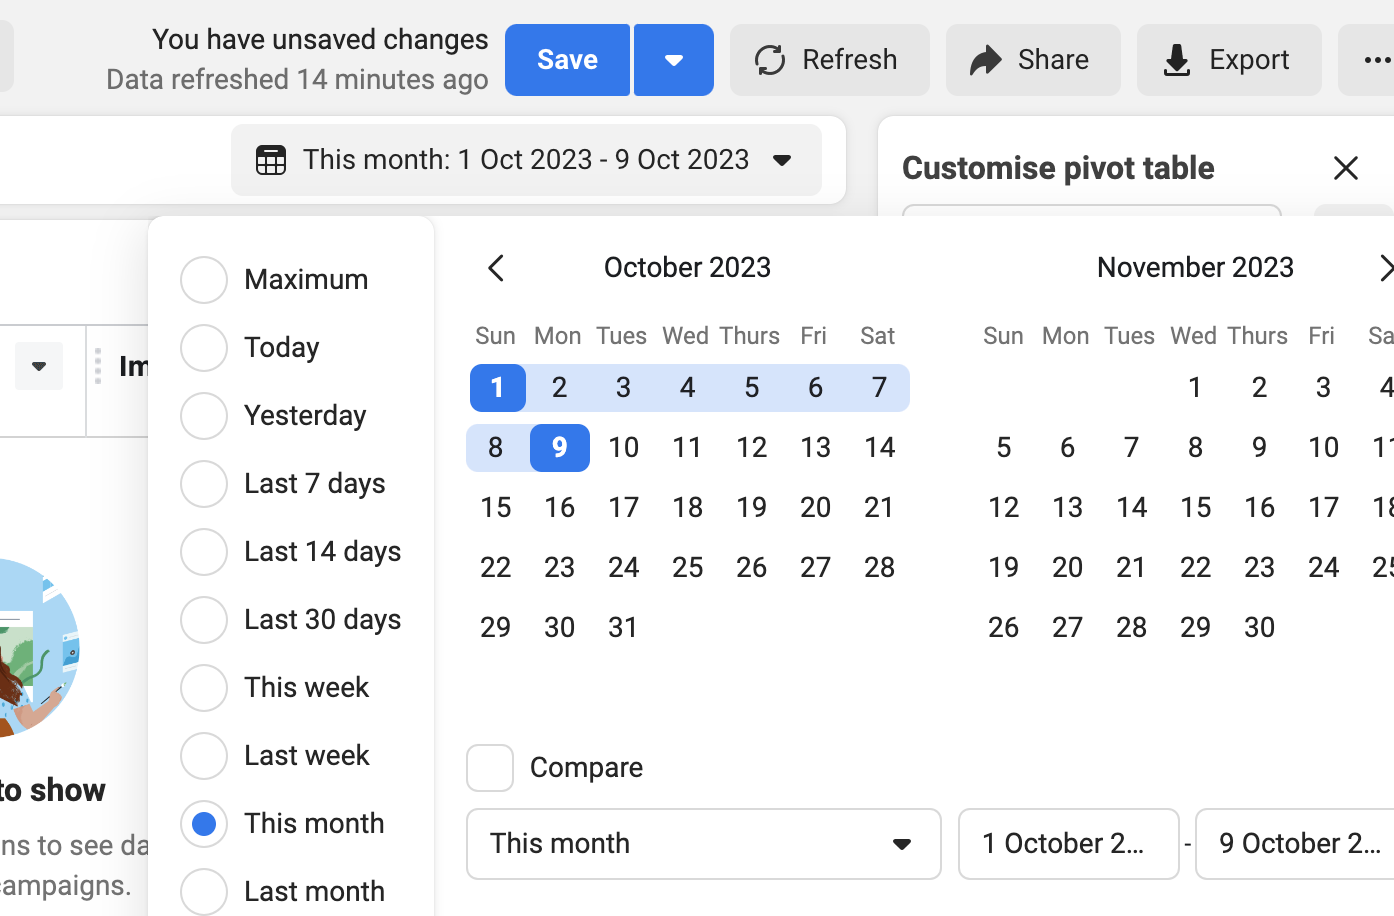
- Click on the Date picker to select the appropriate time range.
Note: Select the full lifetime of your campaign + 1 day to ensure we can capture any delivery on the last day of the flight. If the report reaches the end date, a new link will need to be generated to continue reporting usage.
For example, if your campaign ends on April 30th, the report should be customized through May 1st.
- Click Save at the top..
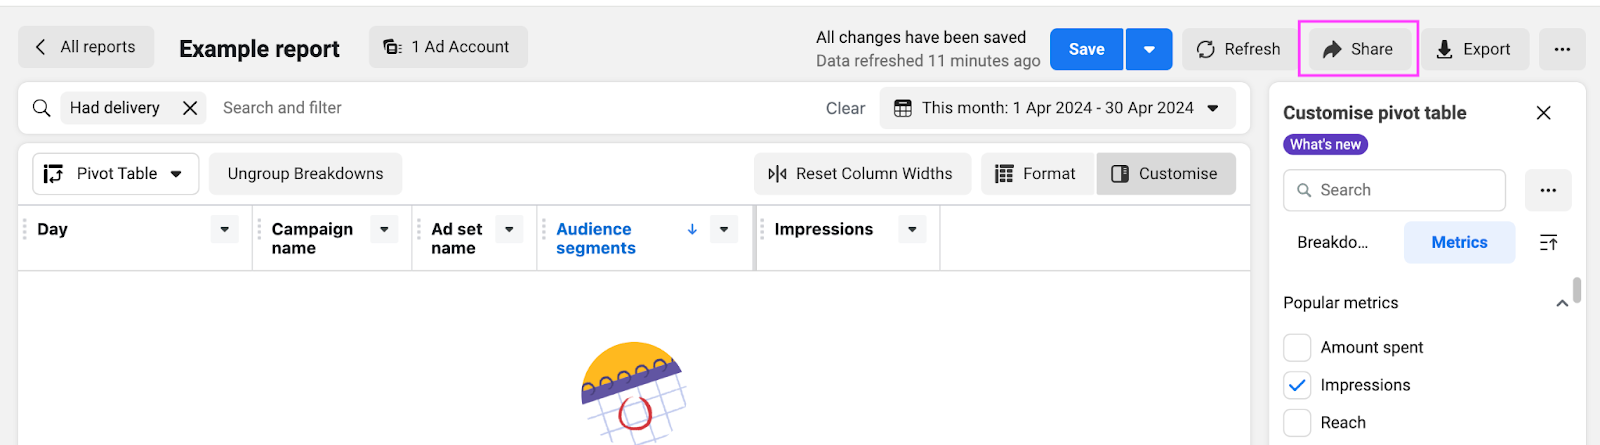
- Click the Share icon in the upper-right corner.
- Please follow the small 3 step instructions while sharing the report.
- Enable the Toggle button
- Set the Link expiry date until the Campaign Ends or your custom audiences are no longer needed.
- Click on the Copy link mentioned in the screenshot and share the Link with support@lotame.com
- This concludes the process. Once the reporting link is shared with Lotame's support team, the task will be completed.
Note, a new report will need to be generated for each campaign.
For further queries or additional details, please feel free to reach out to support@lotame.com. You can also refer to the Facebook Ad Manager reporting documentation for more information.


FAQs
Please contact support@lotame.com for questions about this integration.
Please contact your local Lotame Data Sales Representatives for custom audience inquires:
North America • USCANdataRFP@lotame.com
EMEA • EMEAdataRFP@lotame.com
LATAM • LATAMdataRFP@lotame.com
APAC • APACdataRFP@lotame.com
If a report reaches a selected end date before the end of a campaign, a new report will need to be generated.
A new link is required for every campaign.
Related:
Managed Service Only Technical Implementation: Meta Ads Manager
Content aside
Categories
-
- Managed Service Customers
- Managed Service Only Technical Implementation: Meta - Create Application and Retrieve Token (v2)
- Managed Service Only Technical Implementation: Meta - Create Application and Retrieve Token (v1)
- Managed Service Only Billing Implementation: Meta Ads Manager
- Managed Service Only Technical Implementation: Meta Ads Manager
- Managed Service Customers
- 1 yr agoLast active
- 518Views
- 1 Following